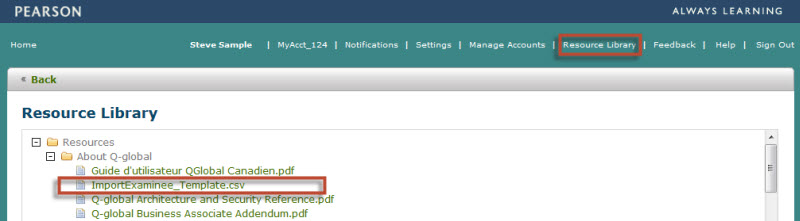
Importing examinee records saves you the time of having to key in demographic information for each examinee individually. To import the records you need to create a CSV file. You can download a copy of the CSV template from the Resource Library.
| Field Name | Length | Required | Format |
| First Name | 25 | Yes | |
| Middle Name | 25 | No | |
| Last Name | 25 | Yes | |
| ExamineeID | 20 | Only if FirstName and LastName are blank | |
| DateOfBirth | 7 | Yes | mm/dd/yyyy |
| Gender | 20 | No | 1=Male, 2=Female, 3=Unspecified, 4=Other |
| 50 | No | ||
| AccountSystemID | 20 | Yes | View Account Details page to look up your Account System ID |
| Comments | 500 | No | |
| Custom Field 1 | 40 | No | |
| Custom Field 2 | 40 | No | |
| Custom Field 3 | 40 | No | |
| Custom Field 4 | 40 | No |

If there are any problems with the data file during the upload, a link will appear in the Warnings/Error column. Click on the link to view the message log. Import files with an ERROR message will not be loaded into the system. You will need to correct the CSV file and upload it again.
• To complete the import process an import file cannot contain any errors.
• Import files containing duplicate examinee records will be imported.
• The ability to import data is based on the role assigned to you by your Account Administrator.
• Visibility of tabs and certain functionality is based on your designated role. See the Roles and Privileges page for details